Guide to Sending Photos
To ensure we can help you with your enquiry please follow this guide to taking photos of your instruments and bows.
Please take your Instrument or Bow out of its case before photographing. To assess and evaluate your Instrument we need high-resolution, square-on photographs. It is best to use a plain coloured background and natural lighting without flash. Try to reduce light glare in photos if possible, as this can make evaluation difficult.
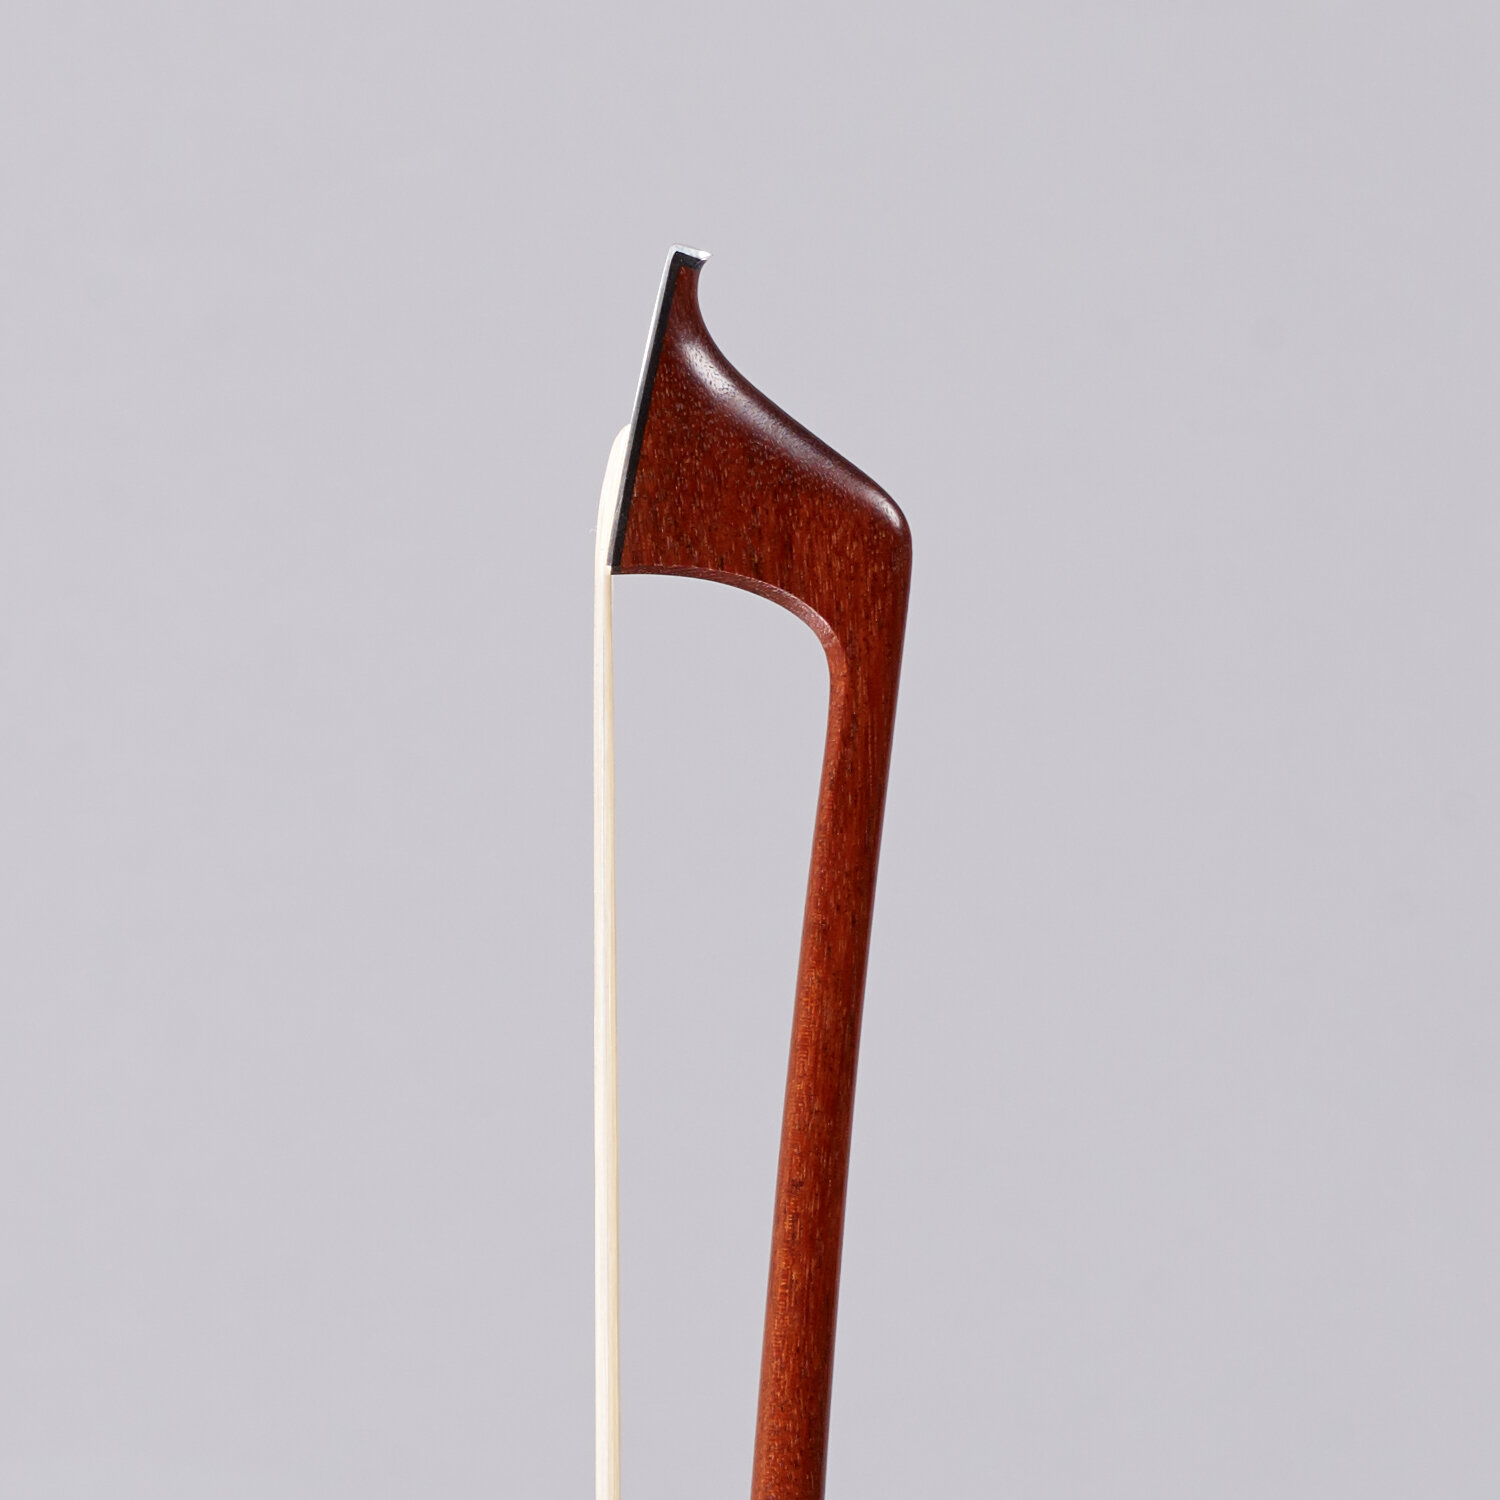
The easiest way to do this is to get someone to hold your Instrument in front of a plain wall. For Instruments take the picture from a metre-and-a-half away, zooming in so the Instrument fills the frame. For Bows, take the photo from half a metre away, again zooming so the image fills the frame. If you have any receipts or certificates with your Instrument or Bow please also send copies of these.
Most modern smartphones have cameras that give plenty of detail, but before sending please make sure that all images are in focus and can be zoomed in on. All stamps, brands, and labels and should be in clear focus, and documents should ideally be scanned. It is much better for us rather receive several emails with high-resolution images than a single email with compressed ones.
Instruments The most important three images are of the Front of the Instrument, the Back of the Instrument, and the side of the Scroll. For Violins and Violas please remove the chin-rest if possible. When taking pictures of the front and the back of an Instrument try to ensure that the corners are roughly in the centre of the shot, and that the Instrument isn’t tilted forwards or backwards. For examples images see below. Other useful photos could include the label, f-holes, corner detail, repair work, the bottom rib joint, and any other images that you think show useful detail.


